Sunday, July 15, 2012
Monday, July 9, 2012
spicy velveeta taco dip
velveeta dip is good, but its reallllllly good with taco meat and spicy ro*tel!
you will need:
2 cans of Ro*Tel [i used one can mexican and one can chili fixins because i like things spicy.]
2 pounds of ground beef chuck [you can use whatever you like]
1 large block of Velveeta [i used mexican here just to try it, ive used the blanco kind in this recipe before and it was really good too.. just whatever you like]
2 packs of taco seasoning
put the meat into a hot skillet and let it cook until its done, stir occasionally.
slice the velveeta into cubes
add to double boiler. i just put a small amount of water in a big pot and a smaller bowl inside.. the heat gets the water hot enough to melt the contents of the bowl without burning them. scorched velveeta is no good! always use a double boiler or you could even use the microwave.
add both cans of ro*tel.. i didnt drain them fully but pretty much.
the meat should be getting done by now.. time to drain it
i use a colander on a plate
return the meat to the skillet and add both packs of taco seasoning
add water according to the seasoning package
stir
looks good! let it cook on low for a while
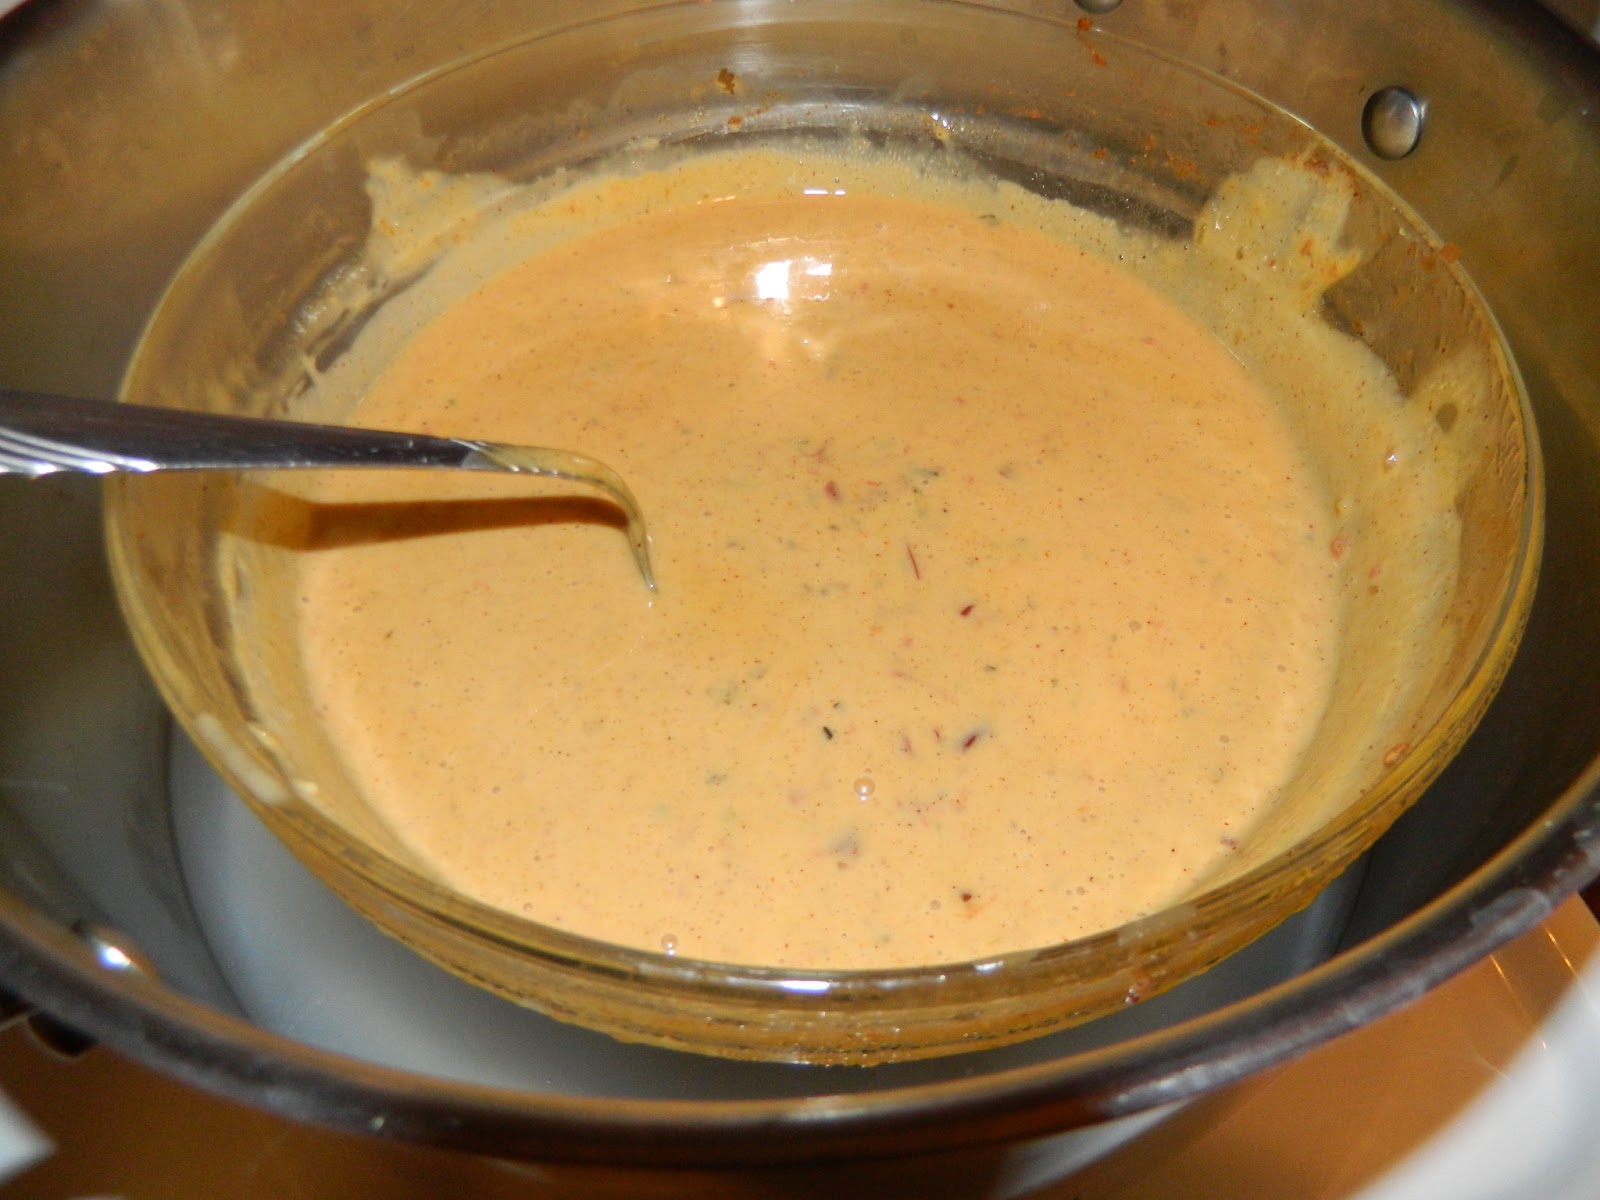
the velveeta dip should be melty by now
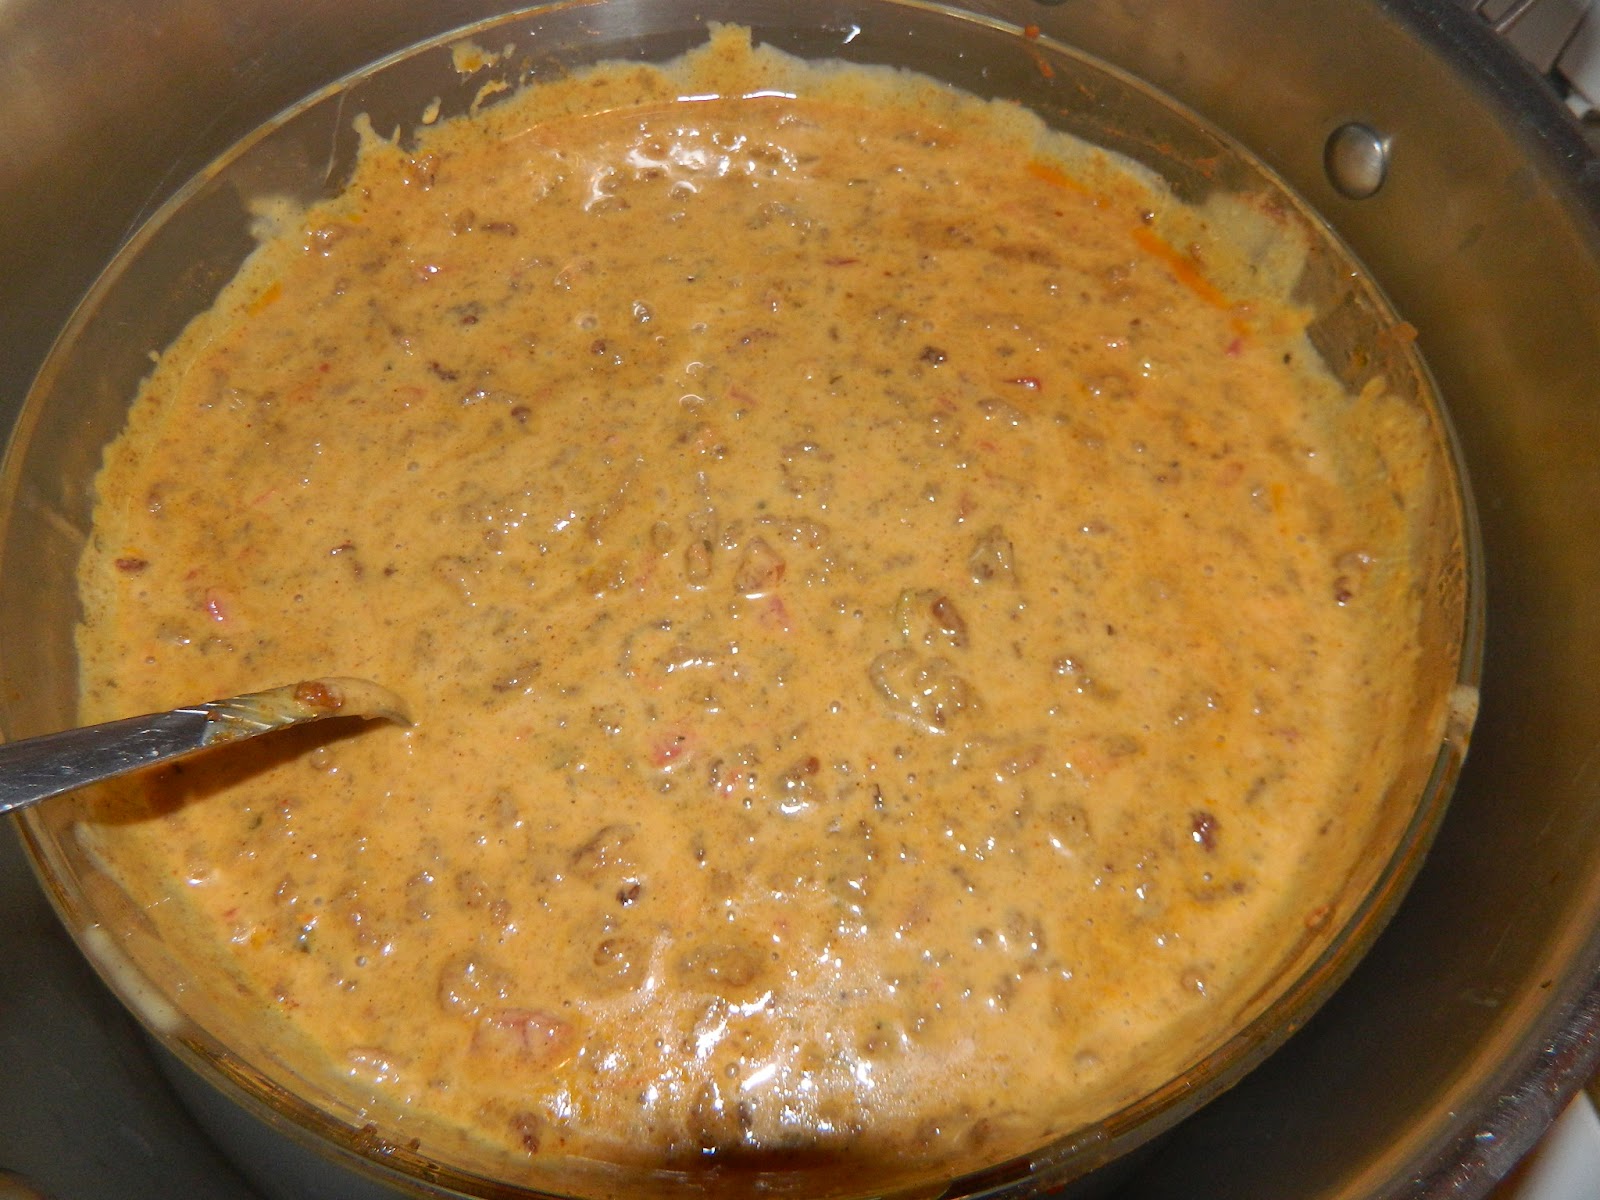
add the meat after it has cooked the water out..
stir it up.....
let simmer in the double boiler for a bit longer
these chips looked good, you can use whatever you like.
^_^
Labels:
arkansas,
cheese dip,
cooking,
diy,
easy,
easy velveeta,
food,
food tutorial,
frugal,
mexican,
mexican rotel dip,
ro*tel,
southern,
taco,
taco bell,
taco dip,
taco rotel dip,
thrifty,
tutorial,
Velveeta
pumpkin fudge brownies
this simple recipe uses canned pumpkin in the place of vegetable oil and eggs for making brownies. you can use low calorie brownie mix and peanut butter to make this even healthier.
the consistency is fudge-like but soo good!
you will need:
1 box of brownie mix [your choice!]
2-4 tablespoons of peanut butter [also your choice, i prefer the Peter Pan honey roast creamy]
15-ounces canned pure pumpkin [for some reason i always buy the 20-something ounce can and use about half]
get a large bowl and put the brownie mix in
then the pumpkin...
stir together until blended
pour the mixture into a baking pan, i used an 8x8 glass dish. use a little butter to grease the inside of the dish to help with sticking.
now the good stuff..
put a few spoonfuls onto the mix, you can do however much you like
swirl it around.. bake in a preheated 350-degree oven for about 30-45 minutes. i can tell when its done by putting a knife in the middle and it comes out nearly clean. and the edges start to pull away from the sides of the dish.
i usually let mine chill for at least 1-2 hours before serving. they are even better the next day.
^_^
store leftovers in refrigerator!
Labels:
arkansas,
brownies,
cheap,
diy,
easy cooking,
easy fudge,
food tutorial,
fun food,
healthy,
libby's,
no pudge fudge,
peanut butter,
peter pan,
pillsbury,
pumpkin,
pumpkin fudge,
pumpkin fudge brownies,
southern
Tuesday, June 5, 2012
sunshine
sunshine. . .
i waited around for quite a while tonight to try and see venus eclipse the sun. i took a ton of pics and here are some of my favorite. i didn't get to see the full sunset because the trees are so tall here. you can see a black spot at the top of the sun in the last picture, i assume this was venus.
Monday, May 28, 2012
smoked brisket
Hi everyone! I hope you had a great Memorial Day! We decided to smoke a brisket at my house. This is my first attempt at smoking a brisket and just my second time using a smoker.
to get started you will need:
a brisket
dry rub seasoning
clear plastic wrap
I also used some salt, pepper and garlic powder
after removing the plastic from the brisket I decided to use mustard to help the seasonings stay on the meat better..
.....
all over on both sides.
I bought McCormick's Grill Mates dry rub for this brisket. I ended up using the Smokin' Texas flavored packs over the Memphis Pit. It just tasted better to me. I used two packages on the brisket.
cover both sides with the seasoning
after you've seasoned the brisket to your liking, wrap it up in clear plastic wrap and set it into your refrigerator to chill. I chilled this one for 6 hours and let it set out at room temperature for 1 hour before cooking.
you could use whatever wood chips you like, we chose hickory. you will need to soak these at least one hour prior to cooking.. this is a smaller bag of wood chips and we used them all.
just put them into a large bowl and fill with water, I put a heavy plate on top of these to make sure they were properly soaked.
while the wood chips are soaking and the meat is resting at room temperature now is a good time to get the smoker coals going.. we used about 18lbs of charcoal throughout the entire process.
place coals in bottom of smoker pan and use charcoal starter and light them.. let them rest until they become an even gray color and are glowing hot.. have patience!
we decided to use Mott's apple juice during the first hours of smoking the brisket for the moisture pan. You can use water here or whatever you want.
This is the unwrapped brisket that has set for about 6-7 hours in the dry rub
after you've got your coals hot and wood chips onto the fire and smoker assembled, its time to put the meat on the grill.. let cook for 6 hours without taking the lid off.
6 hours in.. I flipped the brisket at this point and continued to add apple juice or water into the moisture pan as well as new charcoal to keep the fire going.
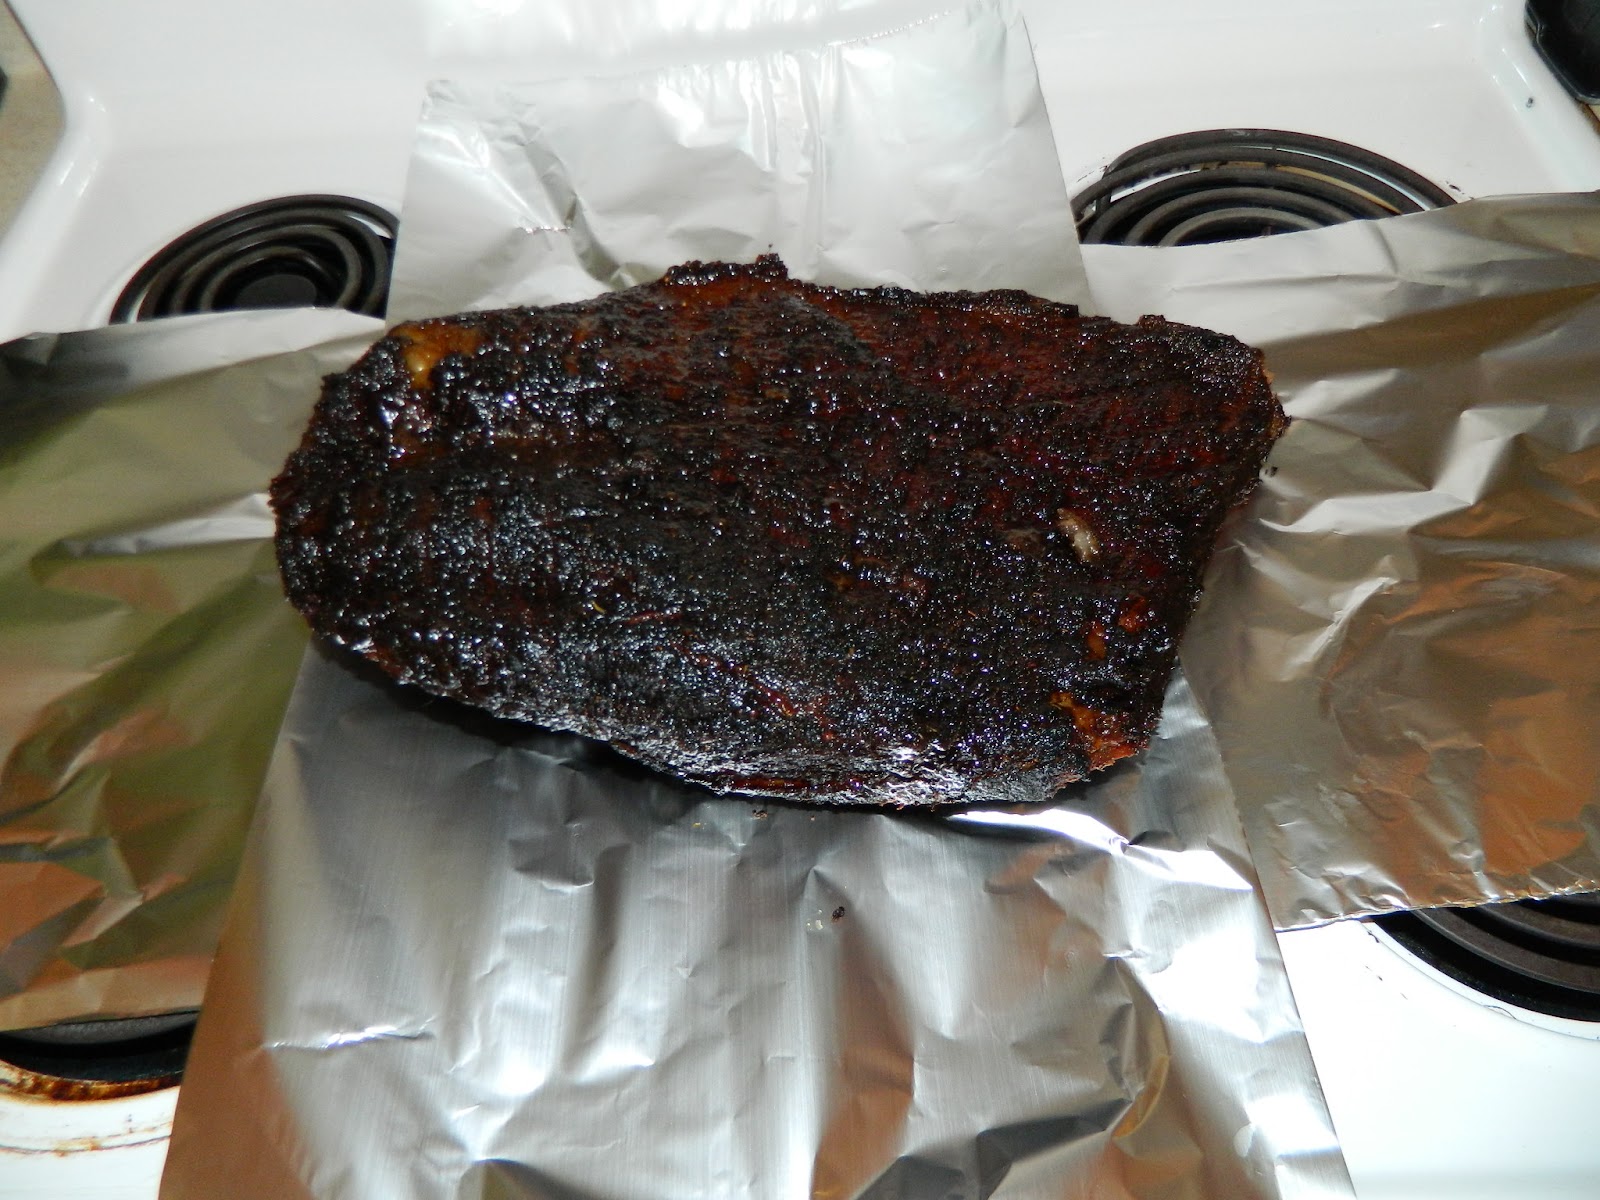
Finally done.. we took it off of the smoker after about 14 hours of slow and low cooking.
time to let it rest.. wrap the brisket tightly in aluminum foil..
.....
and then into a towel.. place in cooler or refrigerator for at least an hour. I think I left mine in about 3-4 hours.
looks great! slice against the grain and your brisket should be tender and flavorful.
yum. happy memorial day <3
Labels:
arkansas,
brisket,
camping,
cooking,
diy,
dry rub,
easy,
easy cooking,
food,
food tutorial,
grill,
healthy,
july 4,
meal,
memorial day,
outdoor cooking,
smoke,
southern,
thrifty,
tutorial
Subscribe to:
Posts (Atom)